Fixing the Ansco Memar
About 20 months ago I purchased an example of Ansco Memar, a fully mechanical camera produced in West Germany by Agfa for distribution in the US back in the 1950s which is identical to the original Agfa Silette (Type 1).
The camera arrived in an ever ready case that's actually from Dacora that actually fits. The case probably originally belonged to a Dacora Super Dignette as the case can be seen sold alongside the camera on online auction site.
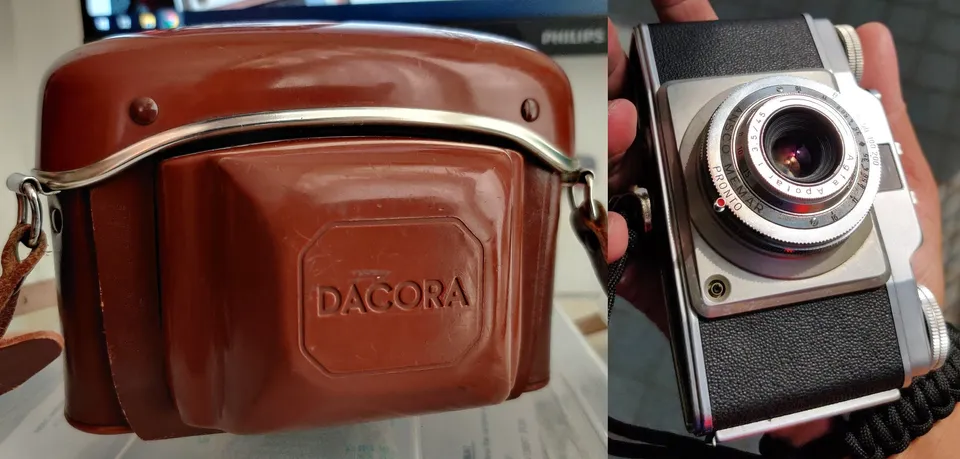
The Memar has 2 problems: defective self-timer and stuck focus ring.
The self-timer simply won't fire even when cocked, and shutter wouldn't fire until the self-timer lever is manually pushed back to the original position. Self-timer issue is very common in vintage camera and even if the timer work for now, there's no guarantee that it work the next time it's fired so I can live without it.
As for the focus ring, it's one of the necessities of an "operating" camera, in addition to a working shutter and aperture ring. Inability to set focus means the camera can only shoot objects at an unknown fixed distance. The focus ring would turn between 3 ft. to 6 ft. and no further beyond. However, turning the focus ring seems to not move the front element by even the tiniest, resulting still in a single, fixed focus.
I wasted 2 rolls of film trying to figure out the actual focus distance to no avail. Available depth of field would change with the aperture such that wider aperture means narrower depth of field. With ample of light a shot would have looked fine at f/16 but a blurry mess at f/3.5. There is absolute no handle of how the focus will end up, making this camera impractical to use.
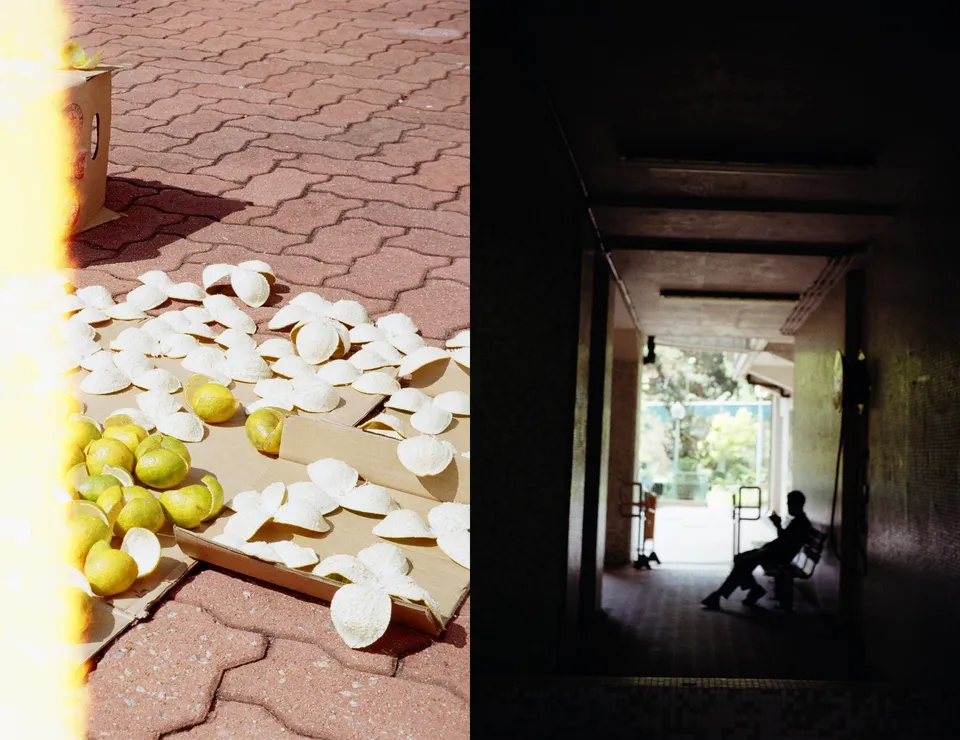
As a result Ansco Memar were stashed away for over a year, not receiving any love or use while my GAS influenced me to continue purchasing various other cameras. Then I learned about the Agfa green grease, and the many victims who tried to free themselves and their lenses from the stuck focus.
The Agfa Agnar/Apotar lens were lenses used by Agfa on most of their cameras since the 1930s all the way to at least late 1969 (on Agfa Optima 500). These are Cooke triplet lenses with 3 elements. The front element is moveable in front of the middle element to focus for different distance by rotating the front element like a bolt screwing into a nut. Between the threads there's this greasy lubricant that Agfa applied to smoothen the turning of the front element.
Over time, the lubricant polymerized into plastic, which can be hard and rigid, hindering instead of smoothening the turning of the focusing ring. That's how the green grease had earned its infamy.
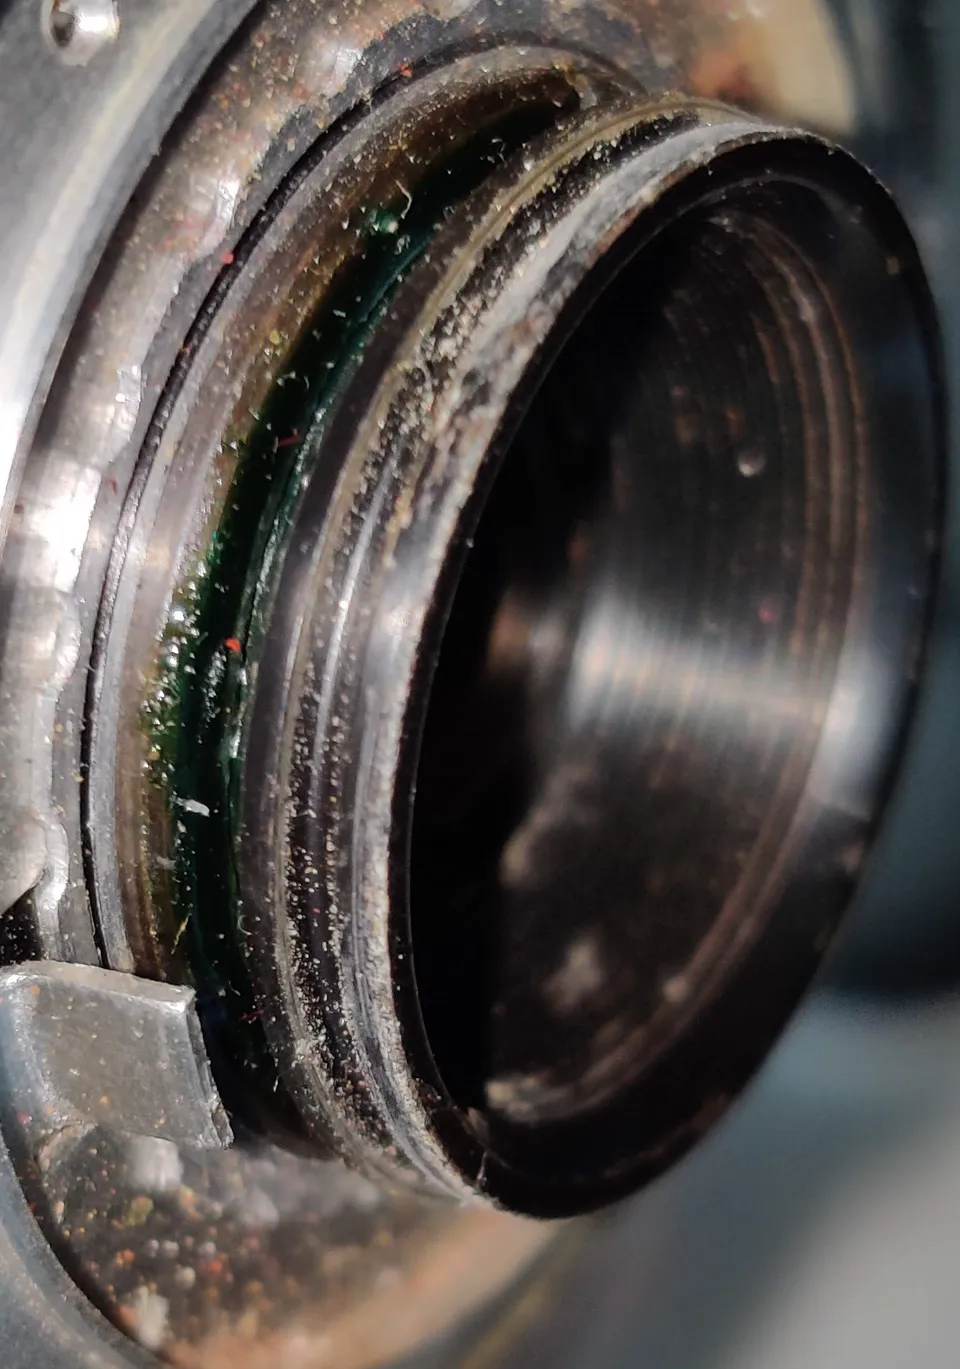
To rectify the stuck focus of my camera, the obvious solution is to open up the camera and try to unscrew the front element off the middle element, clean up the green grease and apply a new grease to the threads.
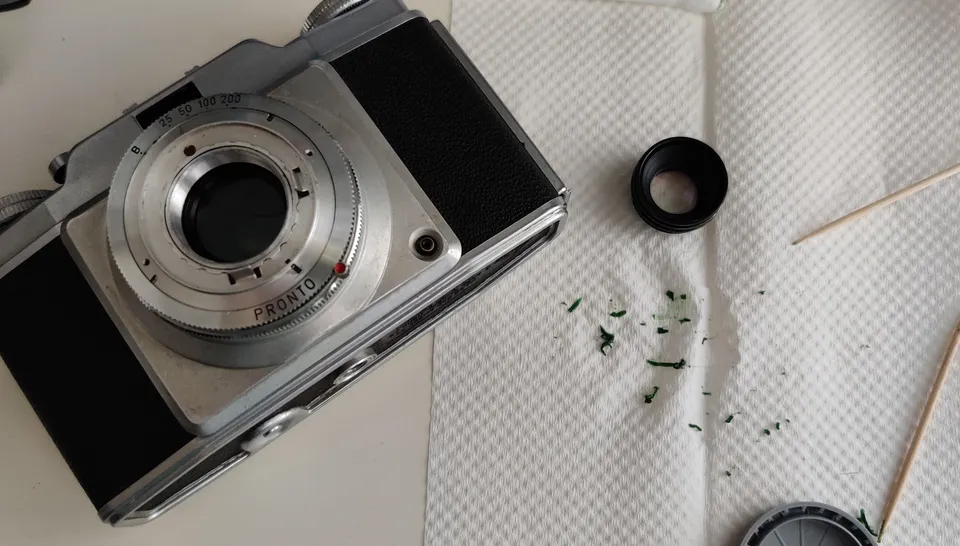
In order to get to the front element, the focusing ring needs to be removed. There are 3 tiny flat screws on the focusing ring. They are so small I had to buy a separate screwdriver kit that contains the head for these screws. These are brittle aluminium screws that could easily break if force is applied at a wrong direction. In fact, at the end of my repair the screw heads bit broke off on 2 of the 3 screws that I could force my way in but can no longer unscrew them. Attempt to unscrew them with force may simply end up with the screws breaking in half or messing up the threadlines. Be careful with these screws.
After loosening the screws the focusing ring will fall off, exposing the front and middle element. The front element would turn even with great force, meaning even though the focusing ring would turn between 3 ft. and 6 ft. the front element wasn't really turning.
Unscrewing only the front element had proven very difficult until I attempted a trick someone demonstrated on YouTube. What ended up coming out is an assembly of front and middle element. They are simply stuck together due to the green grease so when forced, the middle element gave in instead.
I used toothpicks to pick out the visible green grease and avoid damaging any of the metal. After that, injected 75% isopropyl alcohol to the gap in an attempt to loosen out the two parts.
The lenses wouldn't budge, if it was that simple then nobody would've complained. Increasing friction with rubber pad didn't work either, actually some of the front paint chipped, exposing the brass underneath, giving a Leica brassing-esque look.
Next up the list is hairdryer. Internet said by baking the lens in oven around 200℉ or style with hairdryer until it burns a finger or two. Didn't work that time.
Internet also mentioned soaking the assembly in alcohol for a month. Finally, I've found one use for the 50 plastic film canisters lying around.
After two nights, the lenses still didn't move the slightest. Only my hand sore grew by the days. Further picked clean the threads using toothpick but that didn't seem to help. Rubber ring at the back of the middle element gave in though, and some alcohol found their way into the space between the two lenses, they have to be separated now or the camera will become useless.
For a time I even thought of doing an organ transplant from one of the working Solinas to replace this unusable lens assembly as I have 3 other working examples. Well, that'll make this repair worse than meaningless so I refrained.
Time for more radical solutions (pun intended). There's WD-40 and some adhesive remover at home. Took turn to spray them into the threads while carefully avoiding the lens surfaces. The lenses still wouldn't move after several rounds. Hairdryer took its round again. With rubberized gloves the lenses finally came loose.
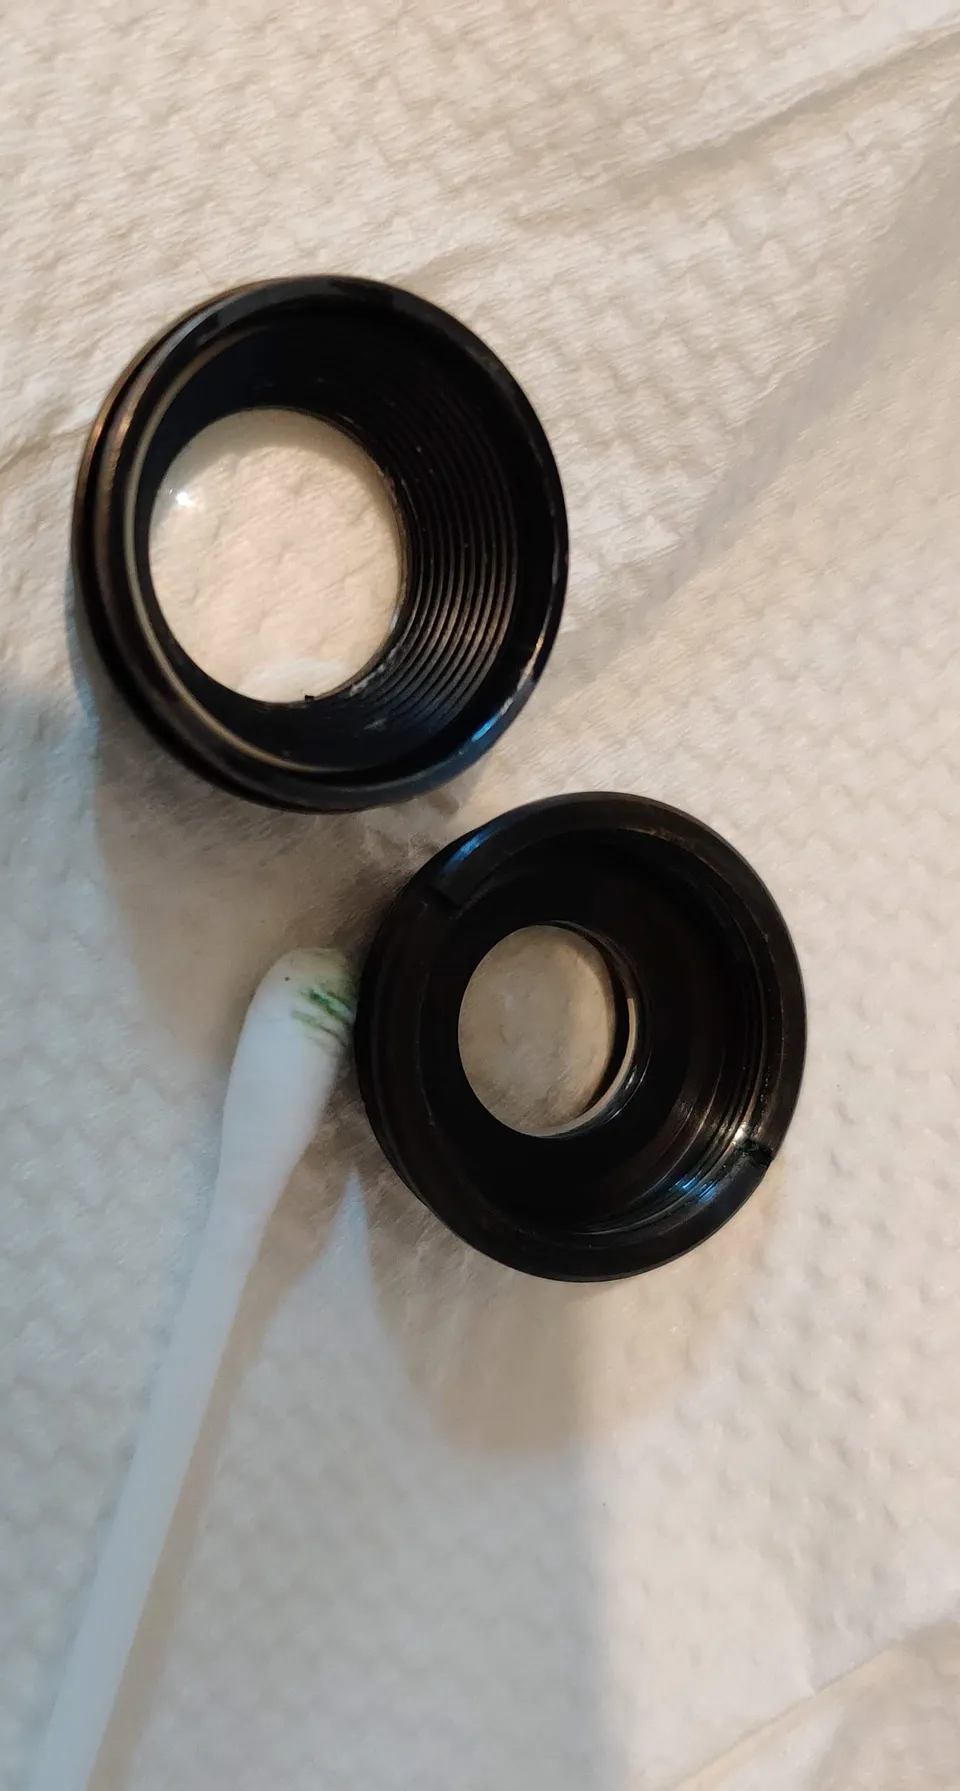
Sliding toothpick along the threads, the green grease came off easily. Screwing the lenses back together, the full range of movement is no longer hindered. The brass threads are roughly rubbing together, so new grease is needed.
Before that, the lenses need to be cleaned. The water stains from the 75% isopropyl can be removed by spraying more 75% isopropyl onto lens surfaces and carefully rubbed with dry DAISO lens cleaner (for glasses that people wear) rolled into a stick. The fiber do come out so those needed to be wiped away with the dry end. There was fear of violent wiping will scratch off the lens coating. That did not visibly happen so no way to verify, lens look clear enough afterwards.
Updated (2022-01-16): I later found out under sunlight some water marks could be seen on the lens. Perhaps those are residues or the coating was screted off. The end results at stepped down aperture looked satisfying though.
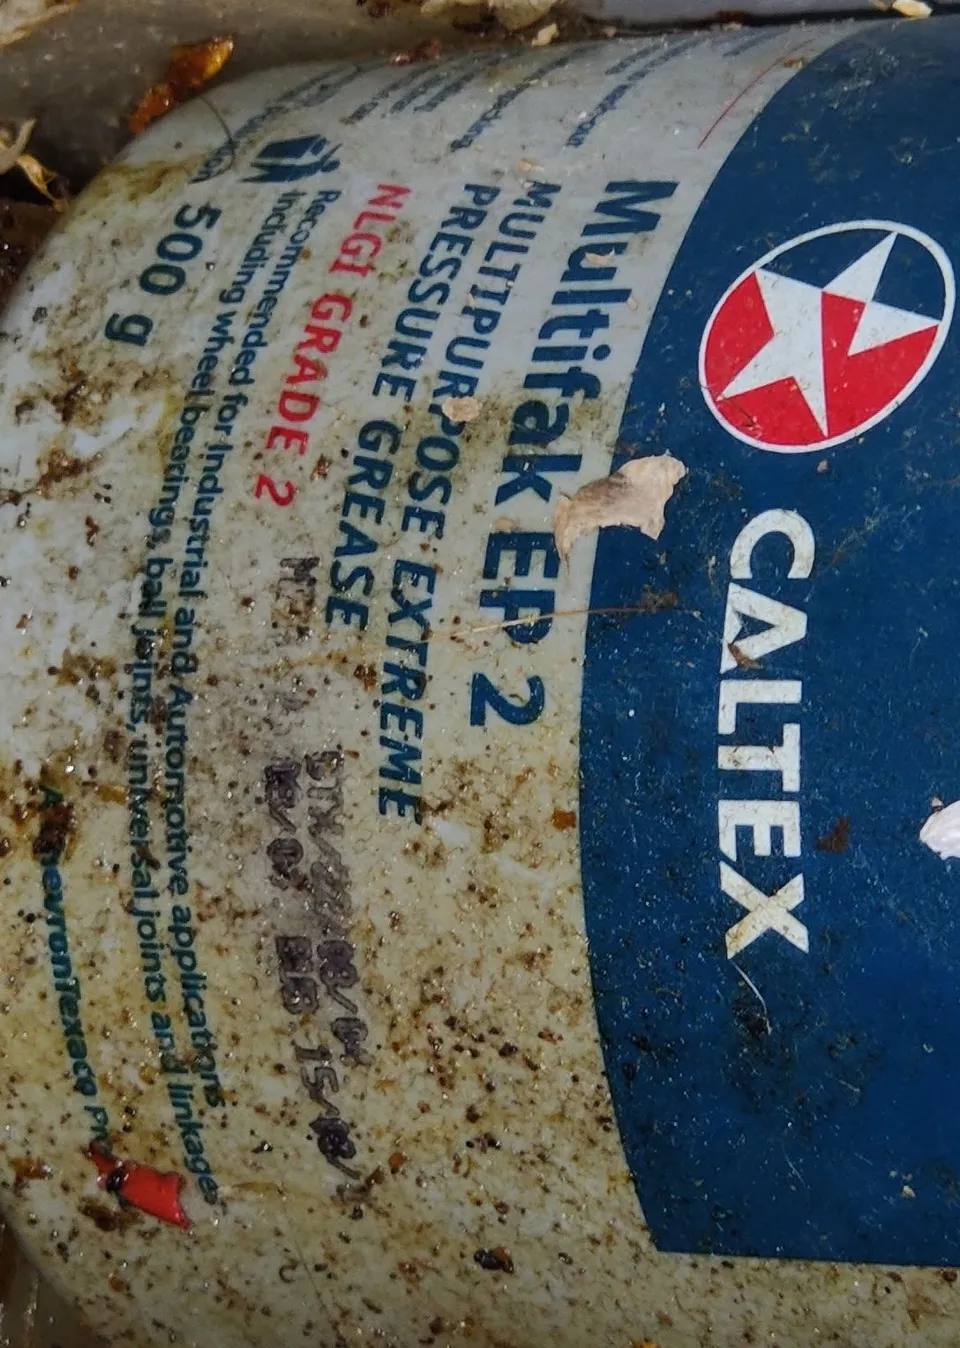
The only grease around is Caltex Multifak EP2. At NLGI grade 2 the operating temperature is up to 130℃, thus the migration of oily lubricant droplets onto the lenses is unlikely. The lubricant is generally used in metals to inhibit rush/corrosion and is itself resistant to oxidation. Hope it'll last in the years to come because I've destroyed the screws when putting the focusing ring back on. Use proper lens grease if you are unsure. I only have Caltex around and couldn't be bothered to get something proper.
With the moving bits taken cared of, the remaining part is the focus. The focus was off in the first place so it's meaningless to mark the original focus setting. The focus needs to be recalibrated.
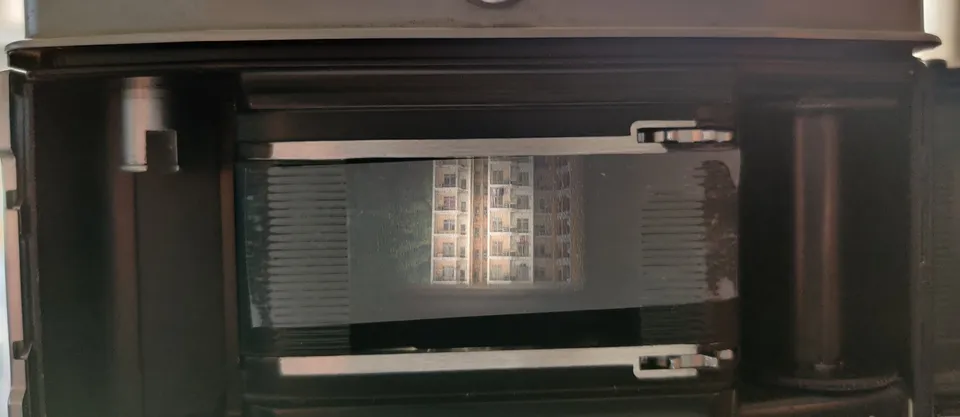
Focus can be calibrated rather easily. Stick some translucent Scotch Magic Tapes at the back where the film would be. Open the aperture all the way to f/3.5. Attach shutter release cable and fire shutter at Bulb setting.
An inverted image would show on the tape. Point at a distant object and turn the lens until the image looks sharp. That'll be the infinite point. Screw the focusing ring back on. For verification, attain focus on a closer object, focusing ring setting would be pointing at the correct distance.
Now the camera's focus is corrected. After a couple days I checked again, the movement is still smooth. I have yet to see the result on film, will get back and update here.
Updated (2022-01-16): result on Kodak ColorPlus 200 is out, very nice, all good, better than expected. I should go recalibrate my other Solinas.

