Disposable camera for budget entry-level film photography
Film photography—is it the forgotten art of the older generation? Most people who have a mobile phone nowadays also have a digital camera in their pocket, making film feel troublesome, inferior and obsolete.
I don't think so that film photography is out of fashion. One of the most popular app on smartphones is Instagram which allows for mimicking the look and feel of a film photo by applying filters.
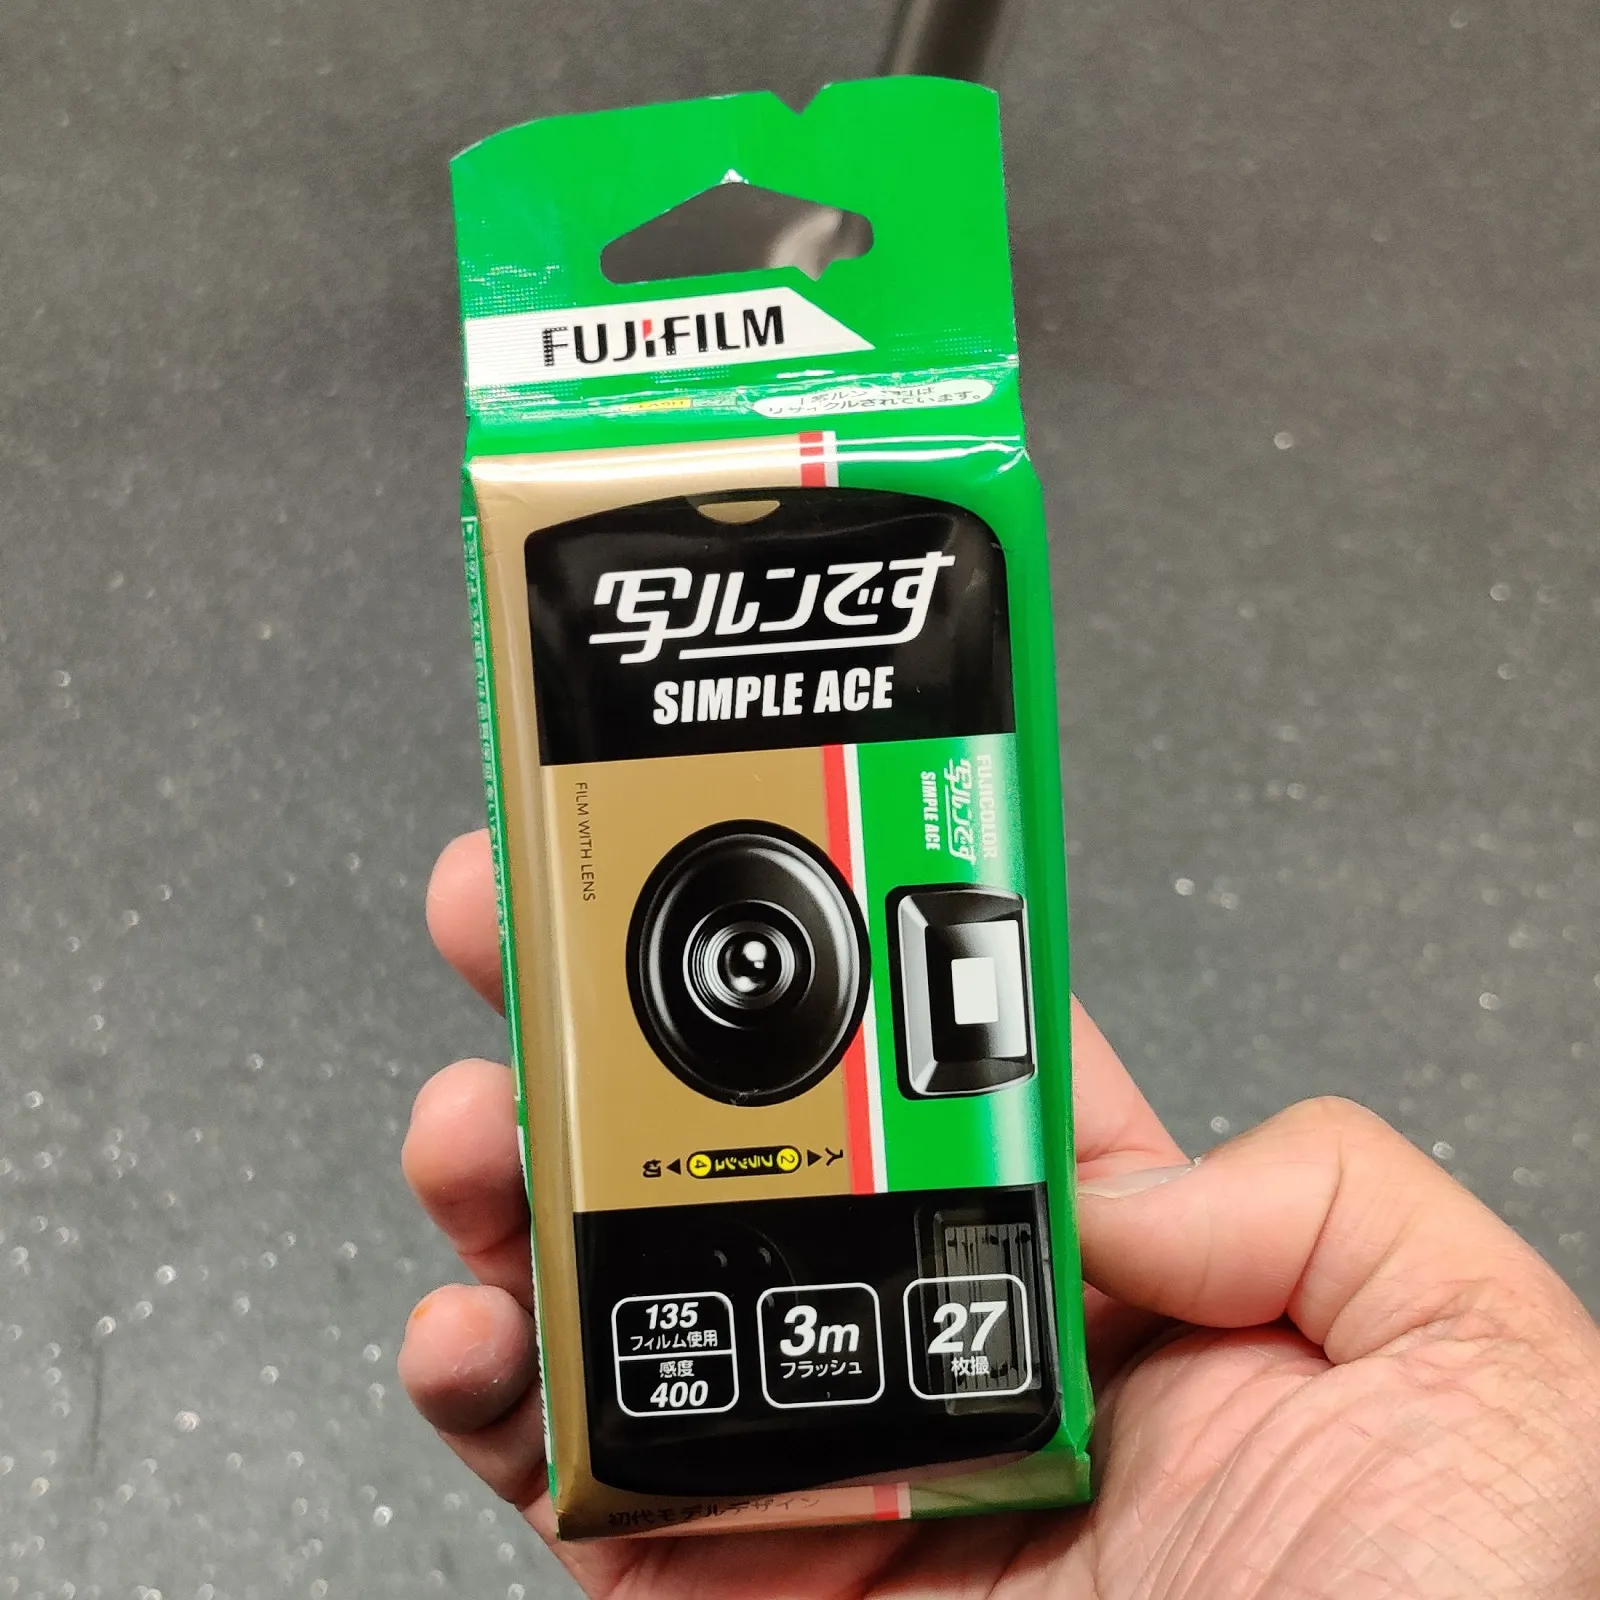
For those who are interested in film the old-fashioned way, I think the easiest and cheapest mean to experience film photography is to buy a disposable camera, also branded as "film with a lens". To the manufacturers, they are selling you a roll of film with a camera body that you can take photo without any up-front investment.
I am going to share my experience of using disposable camera as a starting point to film photography. Everyone's journey is different and I don't mean to make this post a prescribed way of beginning film photography. I simply hope disposable camera could open a door for you like it did for me.
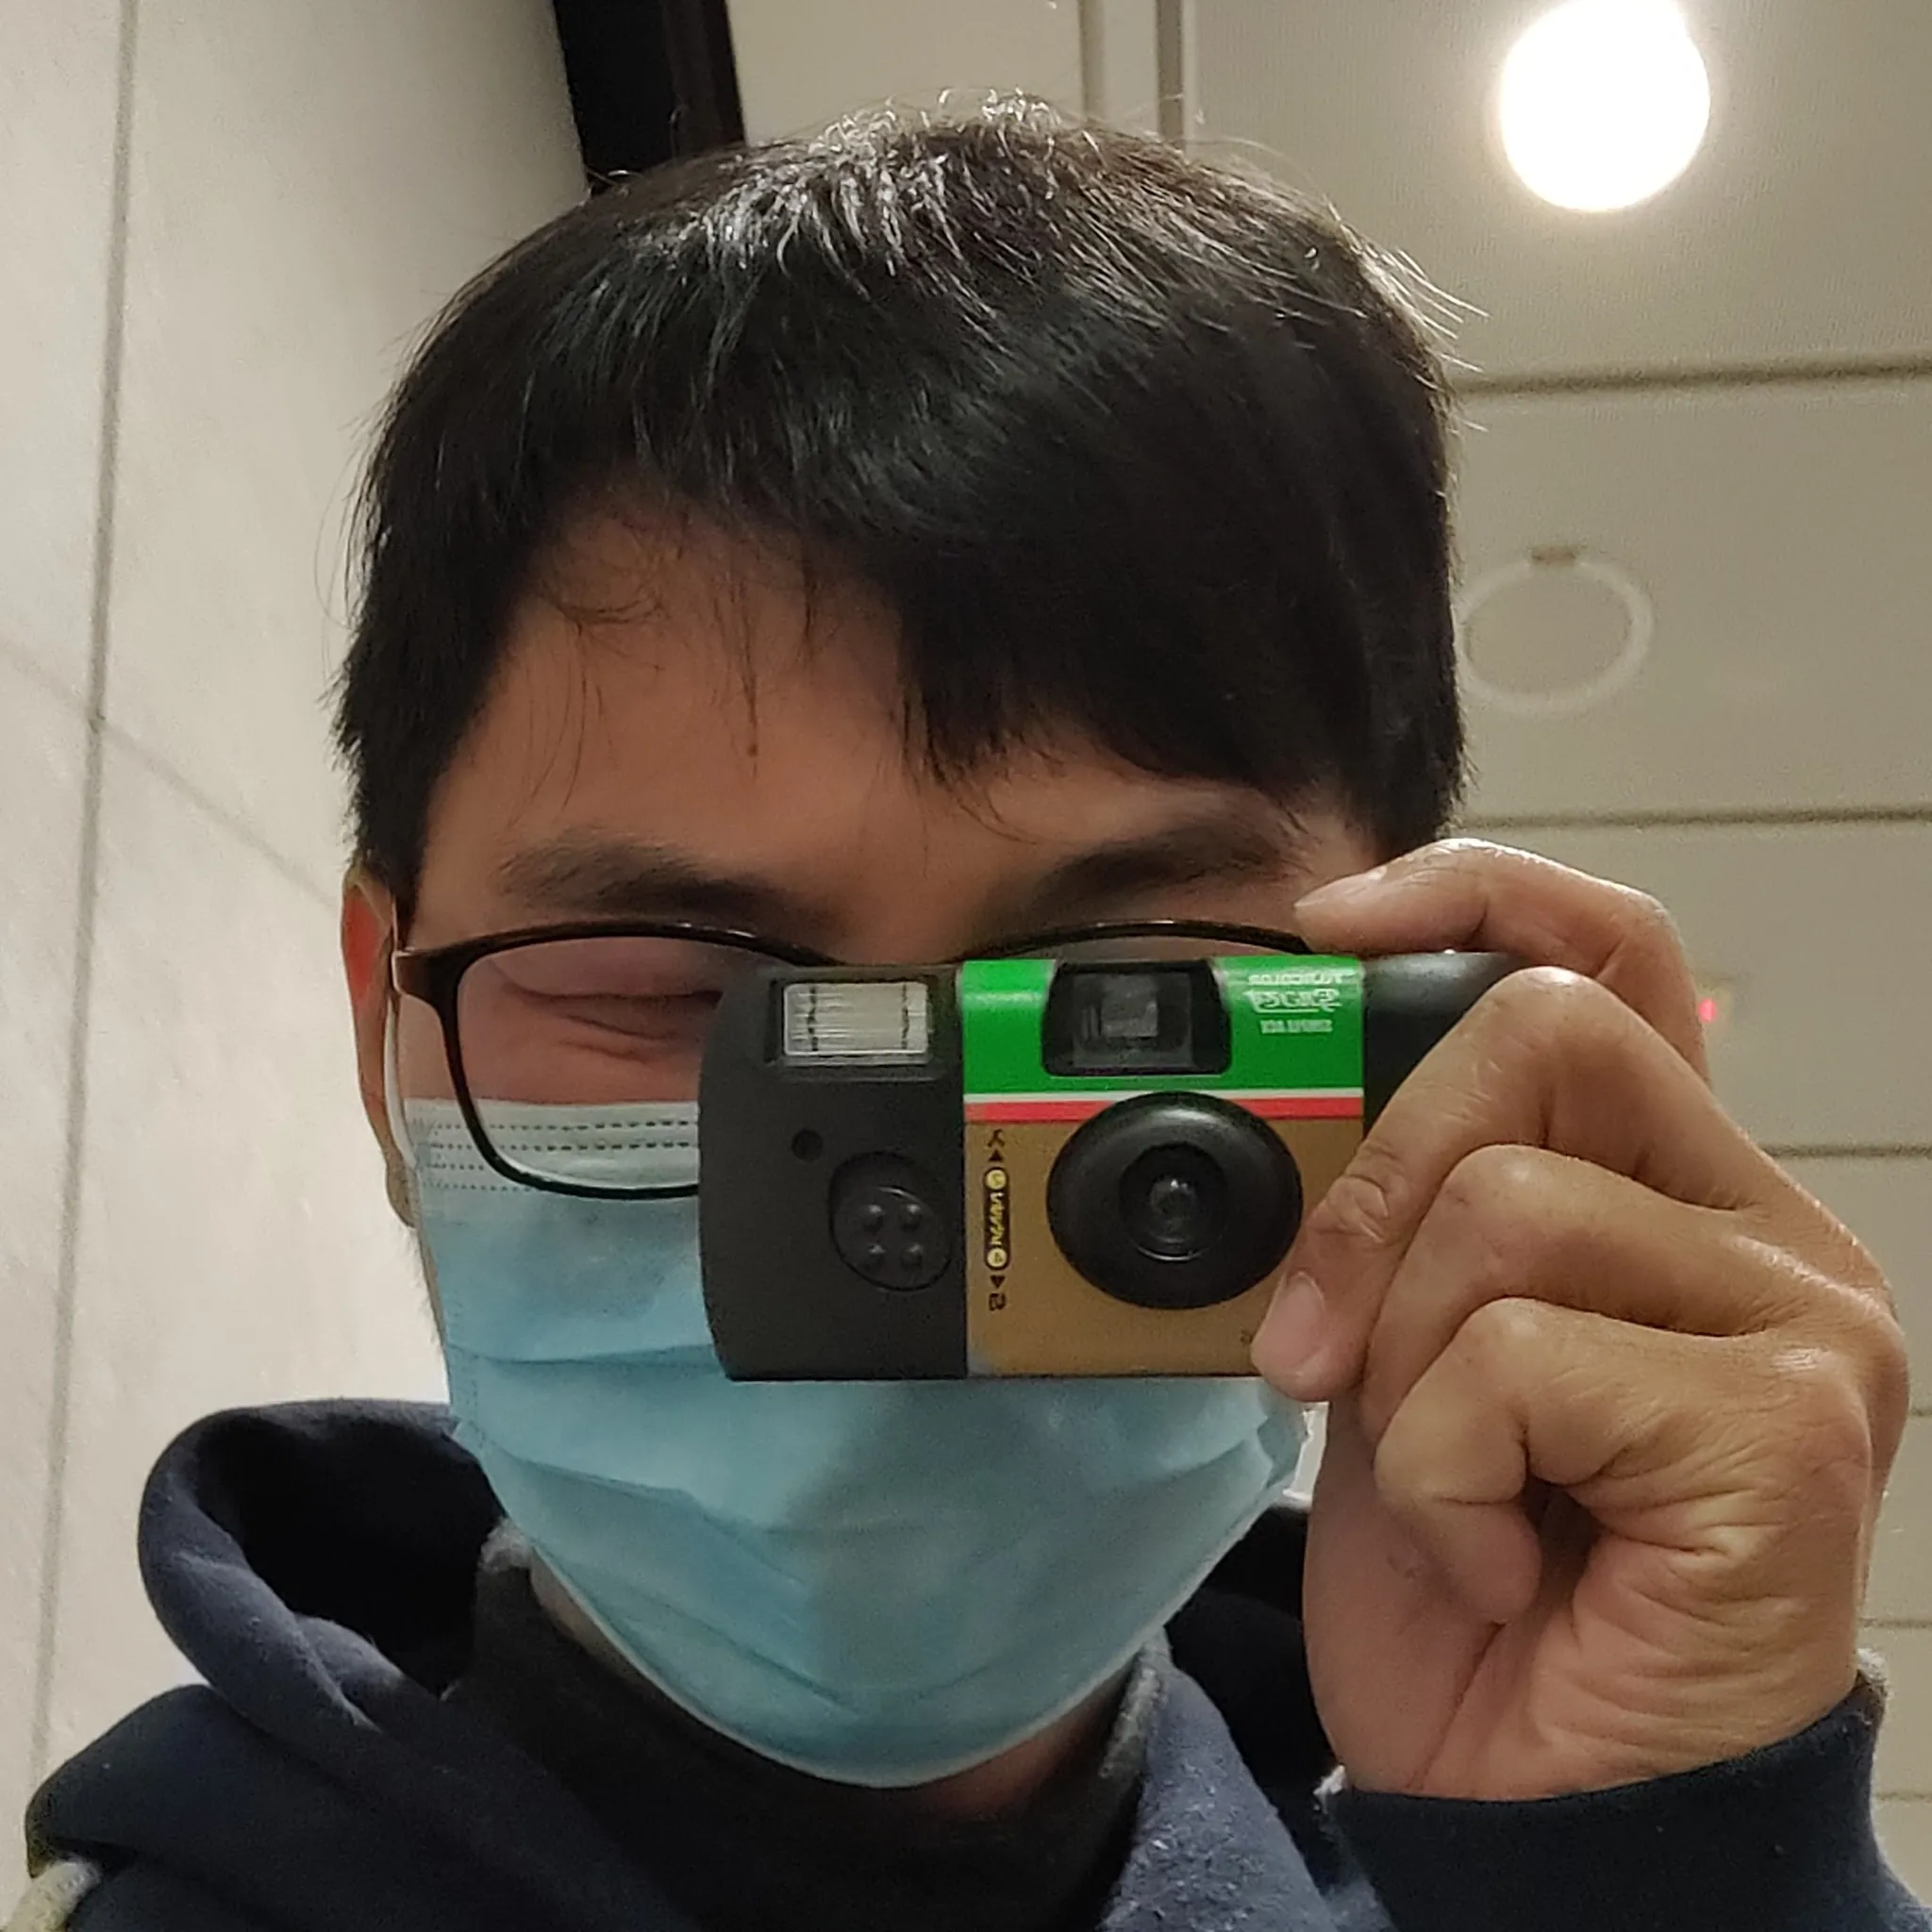
Nowadays I shoot both digital (Fujifilm XT-20/OnePlus 7T) and film (Agfa Solina/Reloaded Kodak FunSaver) photography.
Disposable cameras are cheap
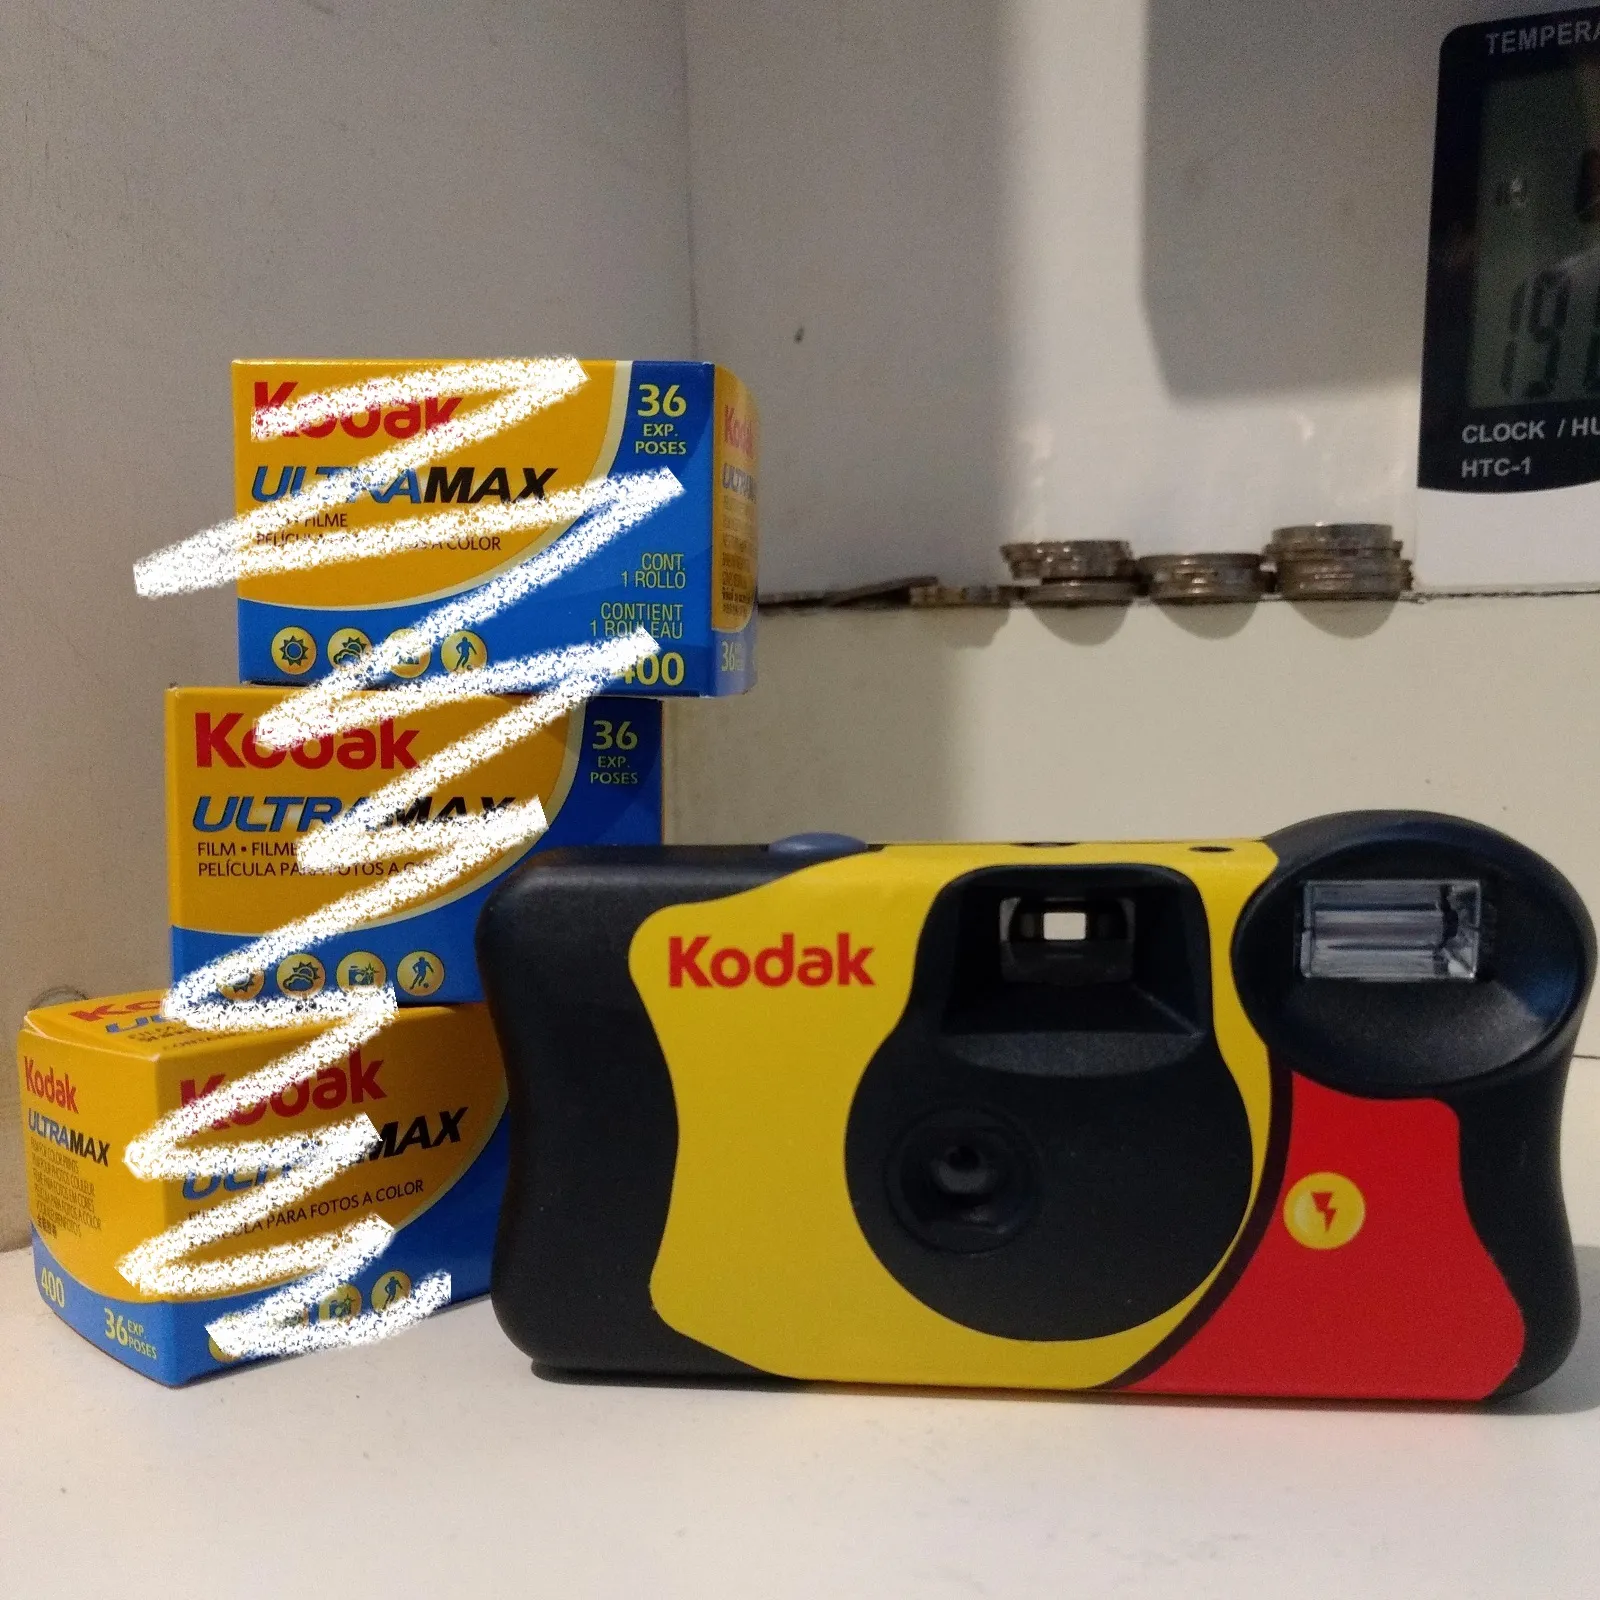
There is a wide variety of disposable camera in the market: Fujifilm QuickSnap, Kodak FunSaver and Ilford HP5 to name a few. They are cheap. you can easily get one for less than HKD$100 (I got my QuickSnap for $85 and FunSaver for $90). If the camera is priced over $100 try other shops. A $138 QuickSnap is absurd (talking about you, LOG-ON).
Disposable cameras are for friends
Disposable cameras are surprisingly popular. Searching on Instagram for
#simpleace or #kodakfunsaver yields over 10,000 posts for each tag.
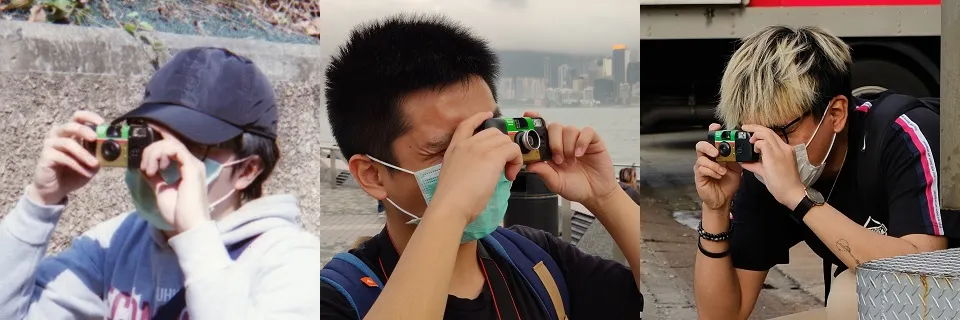
Given its popularity, low price and ease of use, it is easy to invite a friend to go shooting with you. Or you can just buy a brunch of them and distribute to your friends when you guys are going out.
It will be a fun experience. You will discuss composition, lighting condition and instructions written in Japanese that nobody really understands.
Instead of frustrating yourself by reading long online tutorial and articles on how the aperture, shutter speed and ISO make up the exposure triangle, you go out, point and shoot, and generally having a good time with friends. This helps kickstarting a positive feedback loop for more film photography down the line.
Disposable camera may be tricky to use
With a low price tag, it is conceivable that the image quality you get out of the plastic disposable camera lens is inferior to coated glass lens of a rangefinder/SLR camera. However you can reasonably expect to at least recognize whatever you are trying to take photo of, sometimes even amazed by the outcome.
Comparing disposable camera with smartphone camera
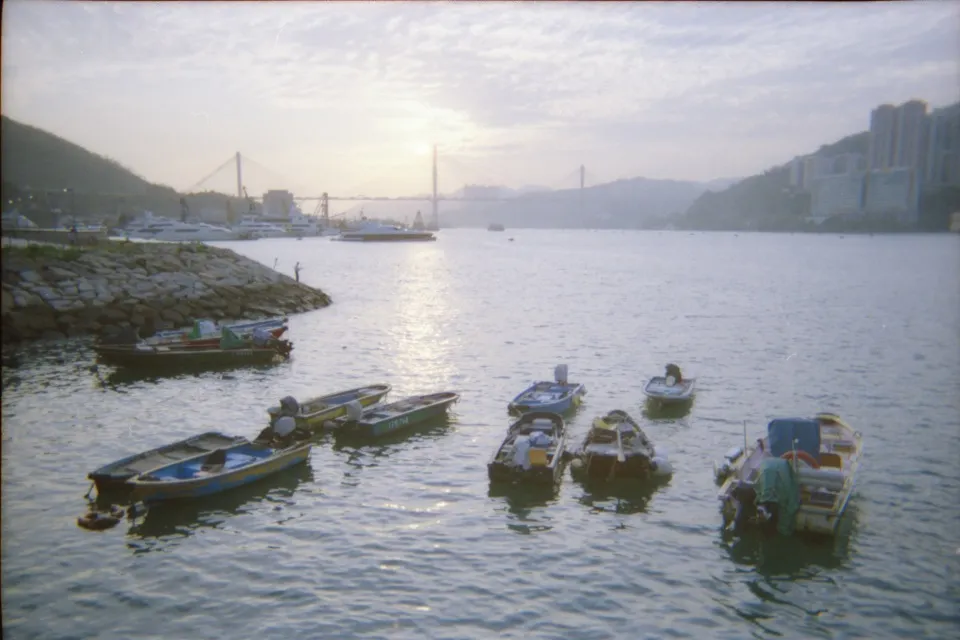
What makes disposable cameras tricky to use is it's fixed aperture size (how much light goes through the lens), shutter speed (how long a film is exposed to light) and focal length (angle of view in the resultant photo). To better illustrate this find below two photos taken under the same lighting condition using a Kodak FunSaver and a OnePlus 7T respectively.
You may click on the images for an enlarged view.
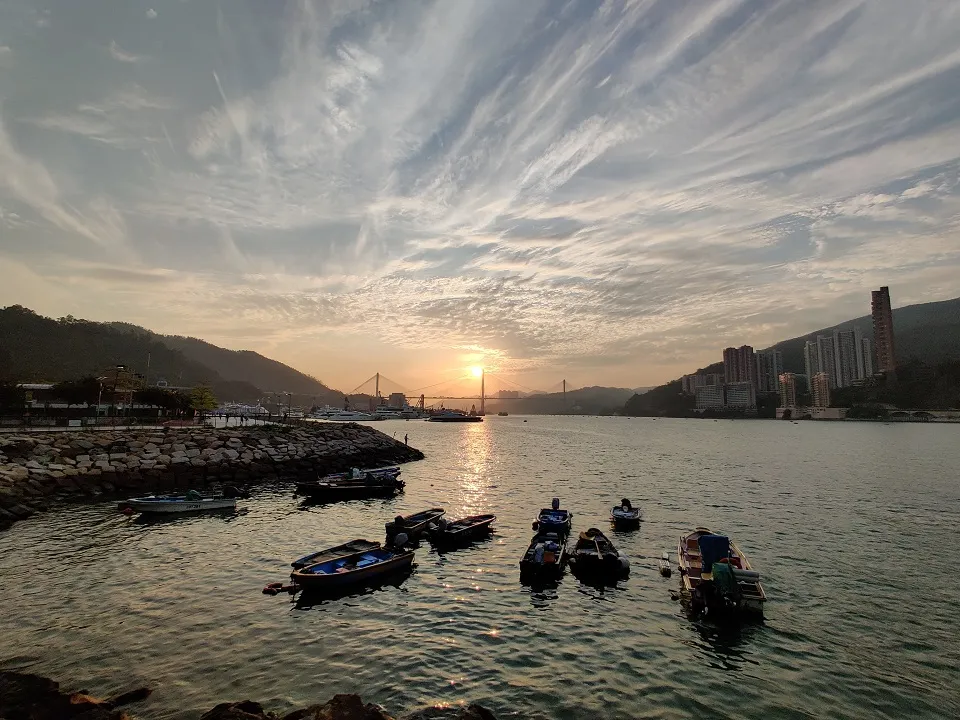
Let's analyze the photos with respect to their settings:
Kodak FunSaver
| Category | Analysis | Reason |
|---|---|---|
| Brightness | Overexposed, sky details lost | High ISO (higher sensitivity) and slower shutter speed (longer exposure) despite small aperture (less light) |
| Viewing angle | Narrower, little distortion compared to human eyes | 30mm focal length |
| Color | Bluish, orange sunset is barely recognizable | Kodak film less sensitive to blue |
| Sharpness | Grainy, unsharp | 35mm film size, film chemistry, plastic lens |
OnePlus 7T
| Category | Analysis | Reason |
|---|---|---|
| Brightness | Slightly underexposed, sky details retained at the cost of boat details | Low ISO (low sensitivity) and high shutter speed (shorter exposure) despite large apterture (more light) |
| Viewing angle | Very wide, distortion visible near the edges | 2.25mm focal length, more optical distortion |
| Color | Yellowish, more saturated, some color details lost at low-light portion | Underexposure preserves highlight details and color |
| Sharpness | Sharp | Digital image sensor, glass lens |
If I were to take the film photo again, I would have used a faster shutter speed and smaller focal length so it preserves that grainy, slightly color-shifted film feel while not looking so washed out due to overexposure. The problem is that you have no such choice with disposable camera. Everything is fixed: ISO 800 light sensitivity, f/11 aperture, 1/100 shutter speed, 30mm focal length.
Disposable cameras are designed for the inexperienced, so the manufacturer tend not to add any configurability that confuses the users. Plus this design drives the cost down as there are less moving parts.
Disposable cameras are designed for simplicity, thus tricky
With disposable camera you have two choices:
- What to include in the shot
- Whether to take the shot or not
Everything else has been taken care of. You don't need to fiddle with camera setting or have any knowledge in the technical know-how, just point at your subject and press the shutter. Disposable camerais configured to a sweet-spot that shots taken by a layperson would look OK under most conditions. They may look a bit bright/dark, but rarely totally disastrous.
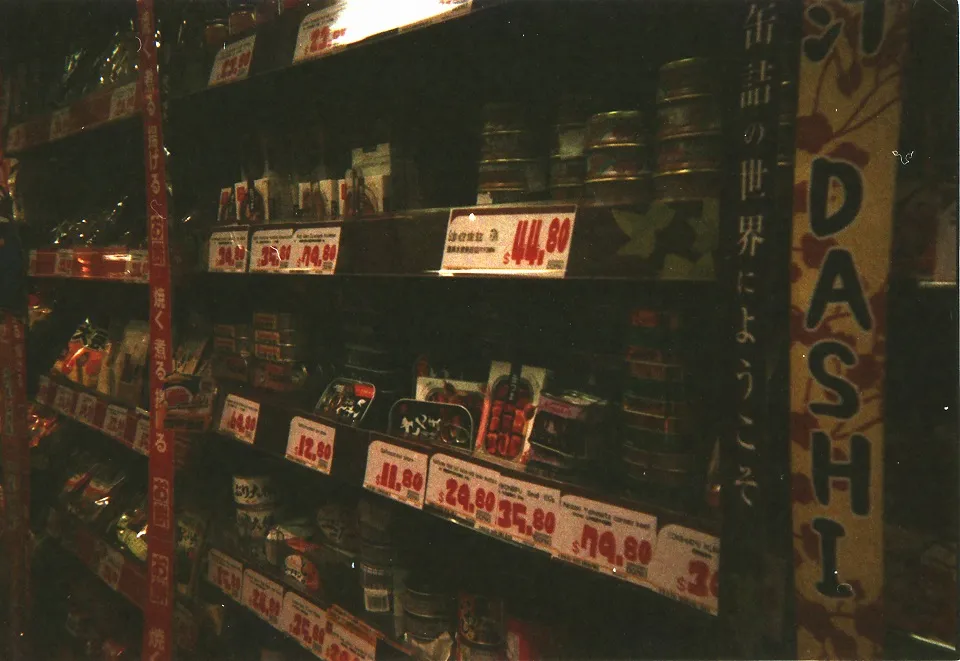
Even for a severely underexposed shot like below (indoor without flash), I still managed to get a photo with all intended subjects still visible and recognizable.
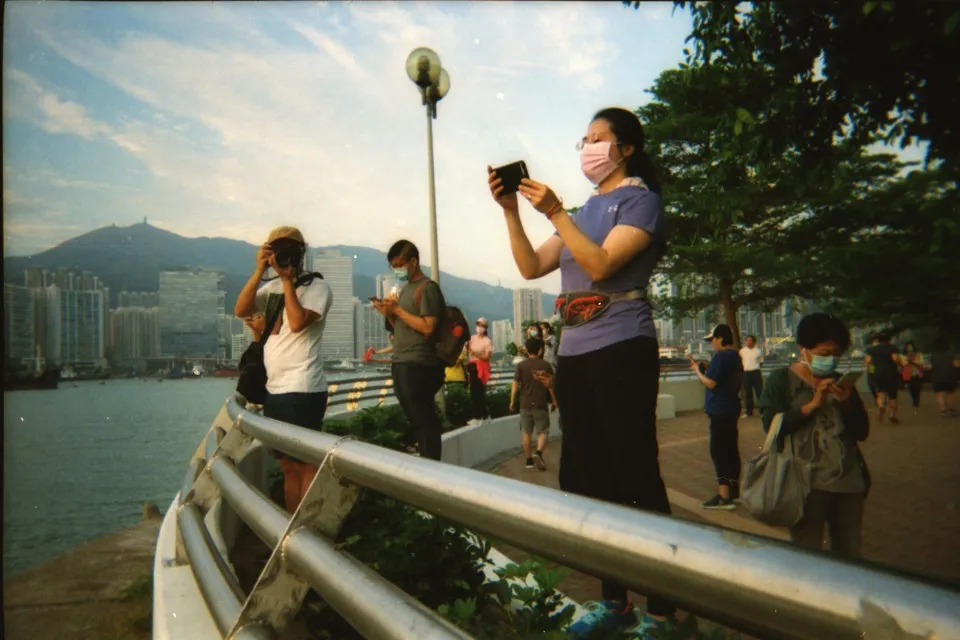
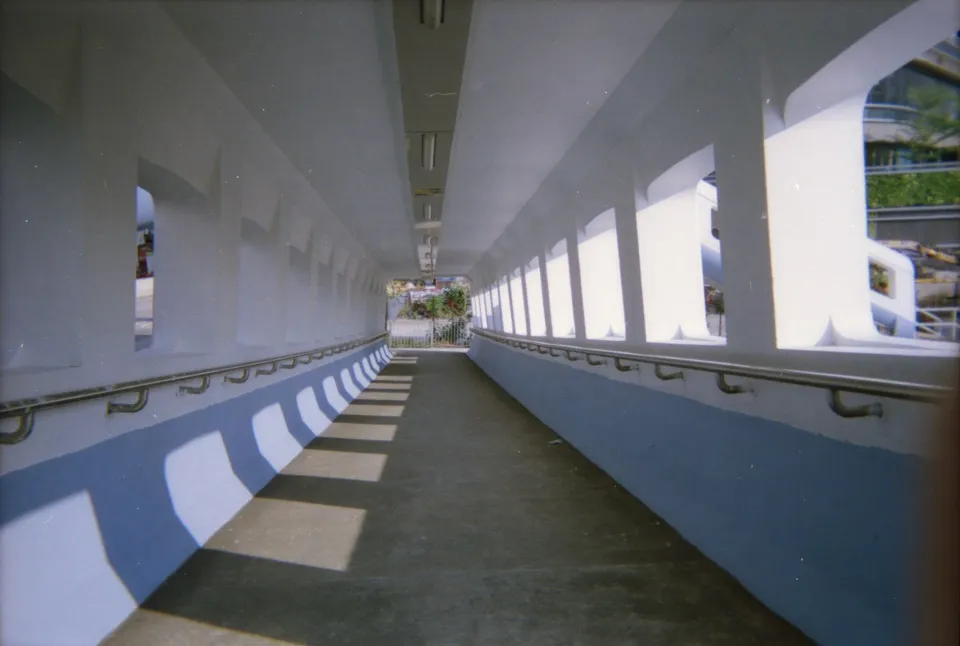
Sometimes you might just hit the sweet spot where the camera setting preconfigured in your disposable camera happens to be the perfect camera setting for the scene like below. Unfortunately, I didn't take a light meter reading to tell whether this scene is actually perfect for a Kodak FunSaver, but judging by the high saturation, properly preserved highlight & shadow details and that everything is in focus, I believe this shot hits fairly close to the sweet spot.
After getting some terribly underexposed shots using a QuickSnap Simple Ace, I ended up creating a "preview" of how the shot would look like given the light condition. My OnePlus 7T comes with a pro mode where I can set the ISO and shutter speed given a fixed aperture.
Using some online calculator I calculated the explosure value (EV) of my FunSaver. After that I created a ISO-shutter speed combination on my phone to obtain the same EV on my OnePlus 7T. Essentially, given the same scene both camera will yield the same exposure result.
| Camera | ISO | Aperture | Shutter Speed | EV |
|---|---|---|---|---|
| Kodak FunSaver | ⚓ISO 800 | ⚓f/11 | ⚓1/100 | ❓10.6 |
| OnePlus 7T | ⚓ISO 400 | ⚓f/2.2 | ❓1/1250 | ⚓10.6 |
Initially, I mistook the specification of a FunSaver so my calculation came using wrong parameters caused the OnePlus 7T setting I used for previewing to be
| Camera | ISO | Aperture | Shutter Speed | EV |
|---|---|---|---|---|
| OnePlus 7T | ⚓ISO 800 | ⚓f/4.5 | ⚓1/4000 | ❓13.3 |
Therefore, when I thought a photo is properly exposed through my OnePlus 7T, the image is actually overexposed on the FunSaver. Most photos I took in the same roll were overexposed.
With experience you could more or less guess whether the lighting condition at the moment is suitable for your disposable camera, and you may be off by a stop or two. Don't worry, there's a chance to fix it afterwards.
Remedies to over/underexposure
Not all scene would have the perfect lighting condition, or something happens so quickly that you have no time to meter/preview the scene properly beforehand: at that moment you had to just press the shutter, and hope for the best.
And most of the time you'll end up with over/underexposed photos. With
disposable camera you actually have two three choices:
- What to include in the shot
- Whether to take the shot or not
- How to improve the shot in post-processing
If the original film shot isn't giving you the feel/color that you like, you may edit the photo digitally after scanning the film. However, your mileage may vary because unlike a digital photo RAW file, film contains limited information and not all the information was digitized when you scanned the film.
Lost shadow or lost highlight are forever lost despite you may salvage them to a certain degree until color banding or some other unpleasant effects starts happening (you may observe some color banding near to the sun in the above image).
Disposable camera is single-use...right?
The general advice for developing the films in a disposable camera is give the whole thing to the lab where the film is developed. This is not because the process of taking the film out requires any expertise, but that the lab can send the camera body back for the manufacturer to reuse the parts.
Seriously, you can do it with anything having a long, sharp edge.
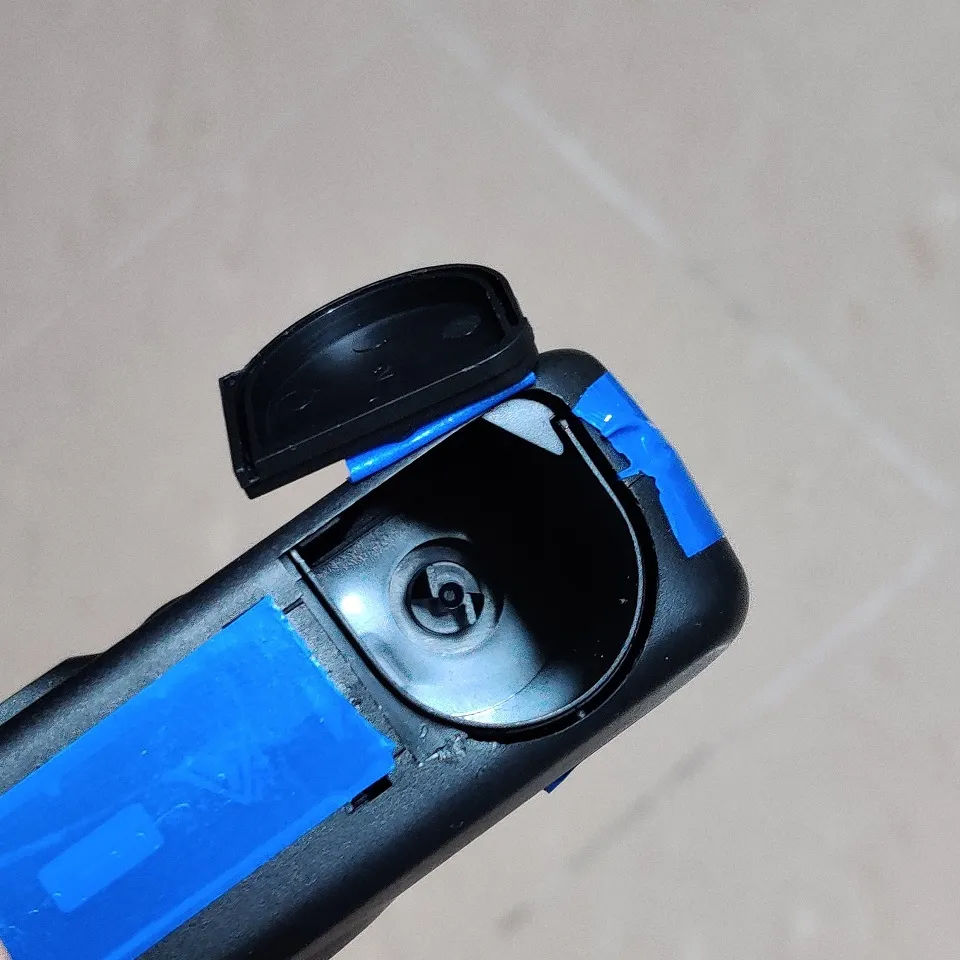
After taking out the film roll, you are left with a "film-less" camera body. You can use it as a prop for your next photoshoot, or reload it to give it another go. The manufacturer is doing exactly that, so there must be a way for you to do the same.
Disposable camera are single-use for most people because they ar designed to be troublesome and difficult to reuse for those who don't care enough.
In normal film cameras, films are unrolled one by one from the film canister as photos are taken, and rewinded back into the canister at the end of the roll. Throughout the entire process the film is protected in complete darkness inside the camera body, except for the brief moment when the shutter is open for a glimpse of light to burn the scene onto the film.
On a disposable camera, however, films are first unrolled out of the canister, then as you take the photos they are rolled back into the canister. After using up the whole roll, you don't need to rewind, just take the canister out for development.
If you casually open up a disposable camera and begin unrolling the film out of the canister in a attempt to "reload" the camear, you're simplely exposing every bit of the film to external light before any of your picture is taken, and you'll end up with a blank roll. Unlike conventional film camera, disposable camera must be reloaded in the dark.
Manufacturer designed disposable cameras this way knowing not many people would go through this trouble to reuse camera. They also brand them as "disposable", "single-use" so people are willing to come back to buy another camera. Remember, your lab sends the camera body back to manufacturer for recycling, so you're playing their game that's rigged to their advantage in the first place.
And thus I searched online how to reload a disposable camera. Luckily there is a detailed tutorial on YouTube by David Allen. I did exactly that.
Reloading film may be risky and dangerous. Accidental light leak ruins the entire roll if you take the camera out of the dark before it is properly sealed. You may break the film in the middle of loading. You may also get electric shock from the capacitor that powers the flash light. Remember to discharge it first by taking a shot with the flash after opening the camera body (you can turn the internal gear to prime for a shot even without any film).
While I don't recommend this, you can also get a Lomography Simple Use that can be reloaded like a normal camera in the light, thus avoiding the said trouble. Well then...how is it disposable and single-use?
Disposable cameras accept different films
Even though you'll have no control over the exposure triangle once the film is loaded onto a disposable camera, there are surprisingly many things you could experiment with just using a disposable camera.
It was a necessity for me to reload my Kodak FunSaver with different film because originally it comes with a ISO 800 film, which is more expensive and harder to come by than say, a Kodak UltraMax 400 or Kodak ColorPlus 200.
However, how can you possible load a film with different ISO? Will the shots be exposed properly and generate acceptable result?
Film is surprisingly tolerant to over/underexposure. Consider the box ISO speed a suggested speed. You can shoot a film marked ISO 400 at ISO 800 and still get decent though underexposed result.
When you shoot a ISO 400 (less sensitive) film at ISO 800 setting, you are assuming the film is more sensitive that it really is and thus underexposing the film. To remedy this, when developing the film you tell the lab people to "push" the film by "1 stop". The film strip will remain in the chemical bath for a longer time during development to lighten the image, increase contrast and introduce more grains.
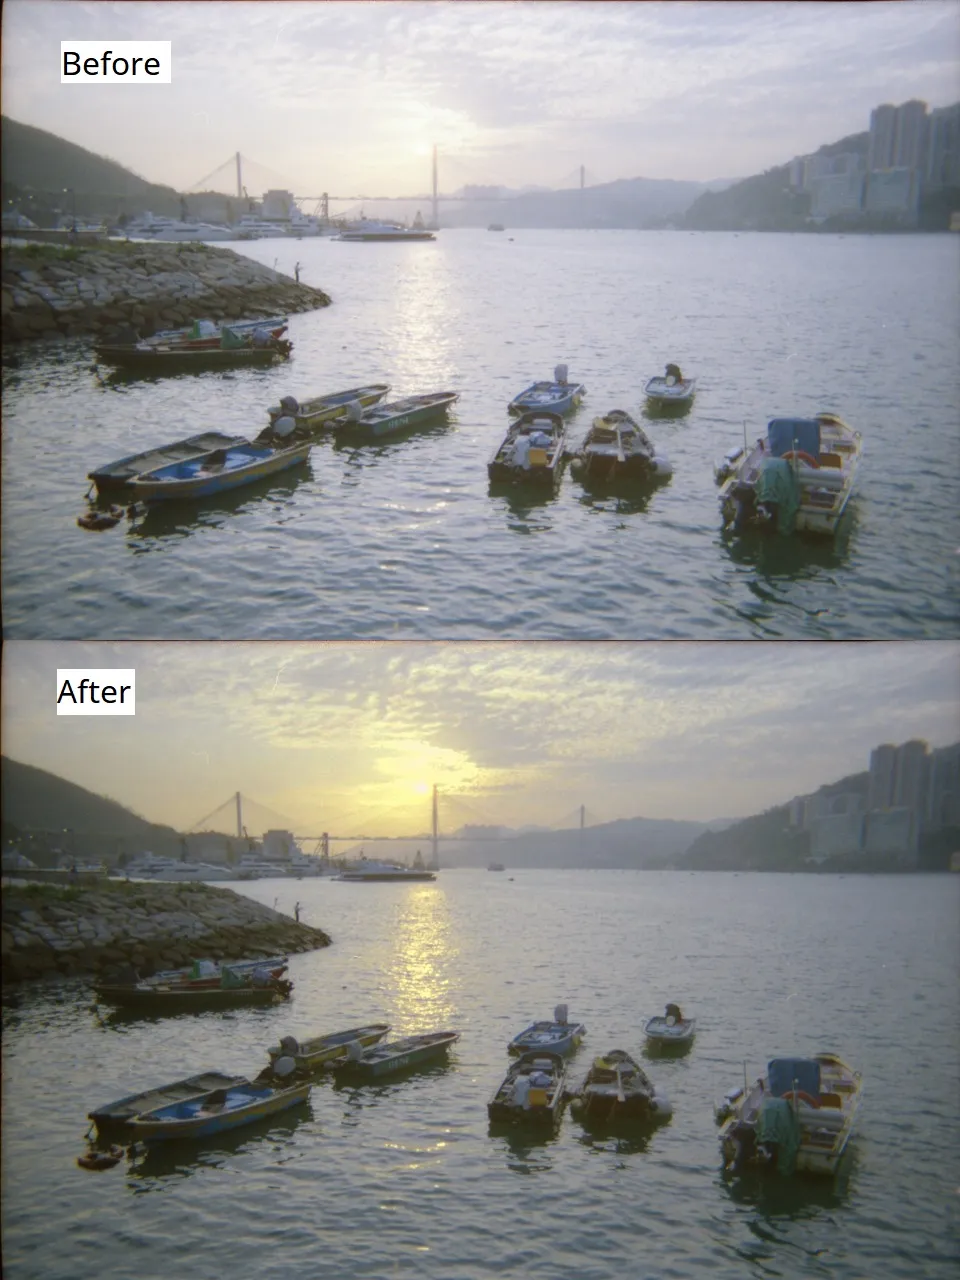
See below for photos taken before and after reloading. UltraMax 400 performs well when pushed to ISO 800, showing that pushing by a stop doesn't drastically degrade the image quality of the film.

Regardless of the technical jargon of "push/pulling" by "n stop", the key is that you can use film at different speed to reload your disposable camera. With such a cheap camera you can try out black and white or different kinds of film until you have decided invest in better gears.
By the way, there is at least one other person who does this.
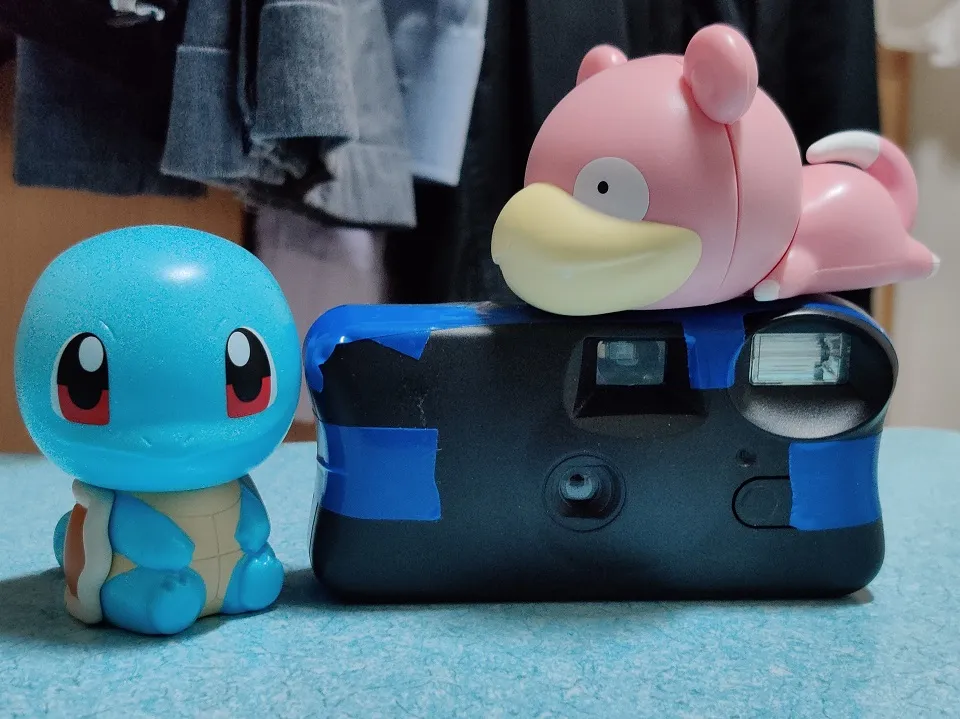
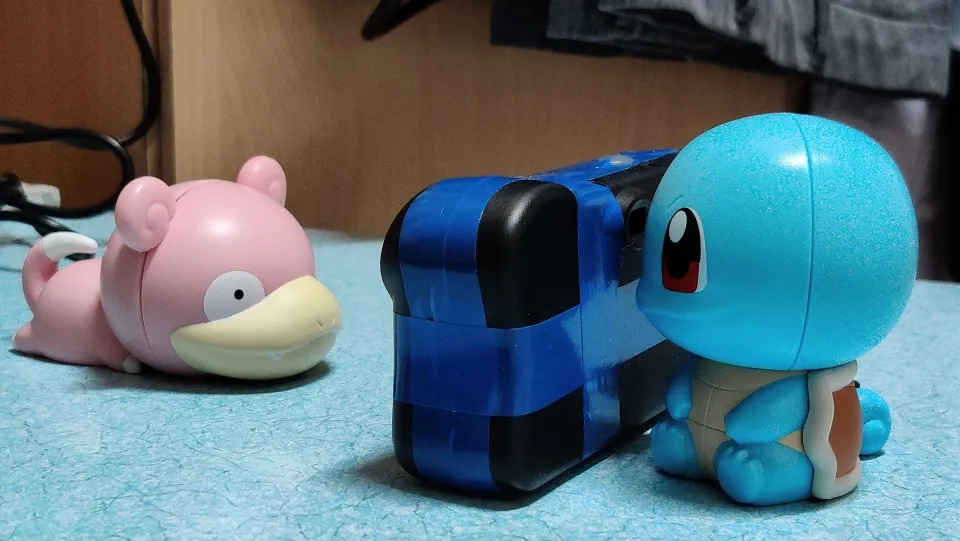
Disposable cameras are portable
Disposable cameras are light and compact compared to SLR and rangefinder due to it's small and embedded front element.
An SLR or rangefinder aren't as rectangular as a disposable and requires an extra bag to carry them around safely. With a disposable I simply slide it into my back pocket or the side pocket of my backpack wherever I go.
Extra caution is required to keep those vintage lenses clean and free from scratches too, while you can cheaply replace an entire disposable camera should the lens be scratched or become dirty.
You get the similar benefits from an automatic point-and-shoot film camera, but those are more expensive than a disposable and I'd rather save the money for better gear and lenses in the long term.
Closing
I have had a lot of fun reloading disposable cameras and studying about the different theories and techniques to make the most out of them. If you have decided to embark on the same journey, I hope my experience shared here can be of some use, and wish you have a great time doing film photography!
References
Camera specifications
- Fujifilm Simple Ace Disposable Camera 400 27exp - meteor
- exposure - What is the shutter speed, aperture, and focal length of the Kodak Funsaver disposable camera? - Photography Stack Exchange
